Low on funds?
Not every business has the budget available to hire a film crew to capture footage for their videos, and quite frankly a lot of videos don’t need it.
I can go so far as to say that there are occasions where filming yourself on your mobile phone is not a bug, but a feature. However, when those occasions pop up there are ways that you can ensure that you get the most out of your recording. Whether you are filming on a DSLR or your phone, you can capture great pictures by adhering to a few basic rules.
There are many things to think about when filming a DIY video, which we will cover in upcoming blogs. Today we begin with lighting.
We begin with light because it’s pretty damn important! We won’t bore you with an in-depth lecture on how images are captured via lenses that bend light onto a sensor that converts the light into an image… but as you can gather, it all starts with light, so it’s important to make sure it’s perfect.
Brightness outside the camera
The first step is to think about the brightness of the location you are filming. Soft, bright light is by far the best.
A cloudy day is ideal if you are filming outdoors. Clouds diffuse the light and get rid of all the harsh shadows, which makes your picture much better.
If it’s a sunny day try to find a shaded area, but keep in mind not to include any unshaded areas in your picture as your device will probably not be able to handle the contrast.
If you are filming indoors try to find a bright room with a soft light source.
Brightness inside the camera
The latest devices have pretty good automatic settings; however, you might need to override them and go manual, in which case there are three settings you need to be aware of: iris, shutter speed and ISO.
Iris
The iris is the little hole in the lens that lets light in. The wider open the iris, the more light is let in and the brighter your picture. Your iris setting is expressed in f-stops, f2.8, f3.5, f4, f5.6 etc., the lower the f- number the wider open your iris.
Shutter Speed
The next setting is the shutter speed. Cameras work by opening and closing a shutter to expose an image and are expressed in shutters per second, 25, 50, 200 etc. So, a shutter speed of 250 means that the shutter is open for 1/250th of a second. The longer the shutter stays open (the lower the number), the more light is let in and the brighter the picture is.
ISO
The third setting is the ISO, which can be roughly described as adjusting your camera sensor’s sensitivity to light. The higher the number the more sensitive you your sensing will be and the brighter your picture will be, however, the more sensitive you make the sensor the more noise you will introduce into your picture so make sure to use the lowest setting you can get away with.
On Mobile
If you are using a mobile phone you may not have access to these settings; however, there are camera apps that allow you access to these settings that can be purchased from your app store. I personally use Filmic Pro (website) but there are plenty others out there for both Android and iOS (see here).
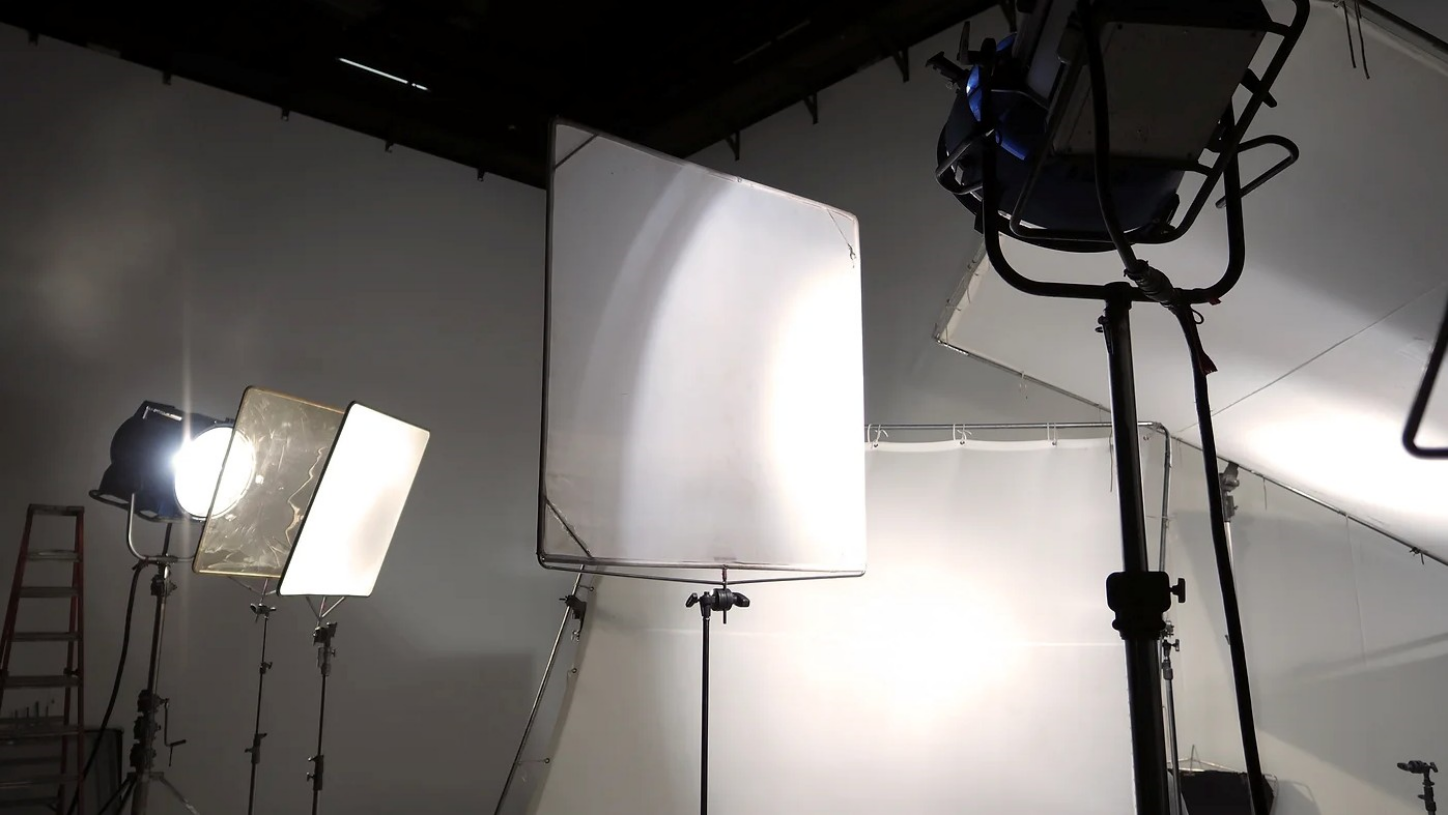
Lighting on a budget
If you have to film somewhere that does not have enough available light you can always introduce more light yourself.
There are plenty of affordable prosumer lighting solutions available that will be more than enough for your purposes. Cheap and cheerful LED lights (see here) are very useful in pinch, as are ring lights (see here). If you have neither of these available, you can redirect available direct sunlight using a large white reflector or piece of white cardboard. You can also consider using the torch function and other mobile phones, preferably from more than one angle, to help light the scene.
Common mistakes to avoid
There are a few common mistakes that people make when recording video that can be easily avoided.
The first, and most common, is placing your subject in front of a window in the daytime. The view out of the window might be great, but your camera can’t handle the contrast between the bright light outside and the darker subject inside.
Unless you are an expert at video lighting the result will either be a well exposed background and a subject in silhouette, or a well exposed subject with a bright white box burning into your retinas. This goes for any high contrast environment. If you have bright spots of sunlight or strong lights in the picture odds are it will ruin your picture.
The next to keep in mind is screens and projectors, especially in darker environments. They are often a lot brighter than you realise and have a very good chance of ruining your picture, so steel clear.
Get In Touch
Following these few steps will help you to create better video which is essential to showing your brand in a good light. If you want to know more about how we can help you maximise your engagement through video, please get in touch with us on hello@foxfifth.com